
Munching on a fresh, cheesy pizza is always a delight, but how about bringing that joy to lunchtime in a fun way? This DIY Pizza Lunchable is quick to assemble, taking only about 15 minutes, and it’s a fantastic way to customize lunch for kids (or even adults!). It works beautifully because it combines the classic pizza flavors everyone loves in a portable format.
This recipe is perfect for busy families, school lunches, or even a fun picnic. You can easily prepare it ahead of time, and it stores well in the fridge for the next day, ensuring you have a delightful meal ready to go.
Why You’ll Love This Recipe
- Transform any meal into a fun, interactive experience.
- Perfectly portable for on-the-go lunches.
- Customize with your favorite toppings for variety.
- Kids can get creative assembling their own pizzas.
What You’ll Need
Gather your ingredients for this easy DIY project.
For the Pizza
- 6 mini pizza crusts or crackers
- 1/2 cup pizza sauce
- 1 cup shredded cheese
- 20 pepperoni slices
- 1 cup vegetable toppings (e.g., bell peppers, olives, chopped)
For the Sides
- 1 cup fruit, e.g., apple slices
- 1 cup veggies, e.g., carrot sticks
For Dipping (Optional)
- 1/4 cup dipping sauce, e.g., ranch or marinara
Use whole grain crusts for a healthier option.
Substitutions & Swaps
- Swap pepperoni for turkey slices.
- Use hummus instead of pizza sauce.
- Choose any cheese variety you prefer.
- Replace fruits with nuts for a crunch.
How to Make It
Here’s how to craft your fun DIY lunch!
1. Place
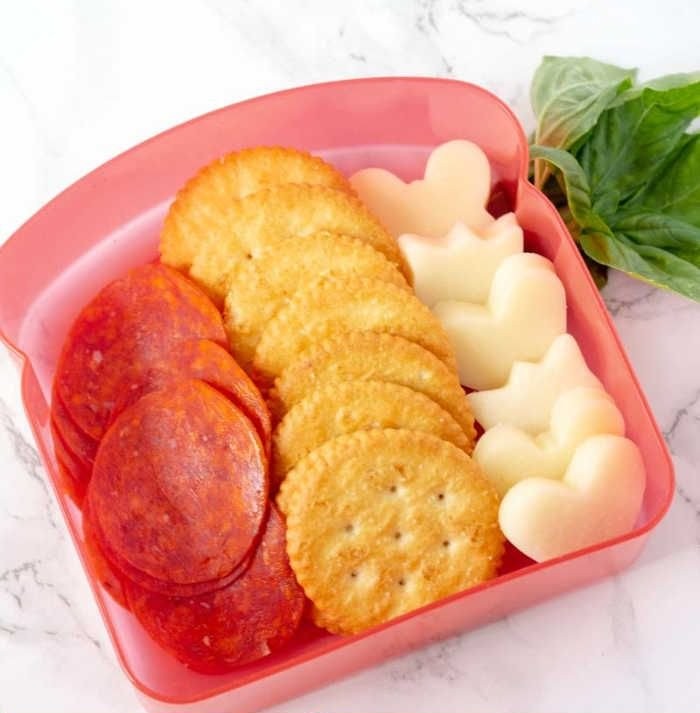
Start by placing mini pizza crusts or crackers into lunch containers. This will serve as the base for your personal pizzas.
2. Add
Add small containers of pizza sauce for spreading. This way, everyone can control just how saucy they want their pizzas to be.
3. Layer
Layer shredded cheese on top of the crusts or crackers. The more cheese, the better your pizza will be!
4. Include
Include slices of pepperoni and any other vegetable toppings you like. This is the fun part where you can get creative.
5. Pack
Pack alongside some fruit or veggie sides. This will round out the meal and ensure a healthy balance.
6. Optionally Add
Optionally, include a small container with a dipping sauce. This can be great for dipping the fruits or veggies.
7. Seal
Seal the containers and refrigerate until ready to pack for lunch. Keeping everything chilled will maintain freshness.
How to Store It
Fridge: up to 3 days in airtight containers
Freezer: no, may affect texture
Reheat: not needed, best served cold
Tips for Best Results
- Ensure toppings are evenly distributed for consistent flavor.
- Experiment with different cheeses for a unique taste.
- Use a mix of veggies for added color and nutrition.
- Pre-assemble and store for a hassle-free lunch option.
Serving Suggestions
- Pair with a refreshing drink, like iced tea.
- Serve during a family picnic for added fun.
- Treat kids after school as a creative snack.
Leave a Comment