
The first spoonful of creamy, homemade ice cream melting on your tongue feels like pure indulgence, especially when it’s a healthy version like this Keto Key Coconut Ice Cream. This delightful treat takes just a few minutes of preparation time, but you’ll need to plan ahead to freeze it overnight. The combination of sugar-free gelatin and coconut milk creates a smooth and creamy texture that’s irresistibly refreshing.
This recipe is perfect for anyone on a keto diet or anyone looking to enjoy a guilt-free dessert. Whether it’s a hot summer day or a cozy night in, this ice cream is an excellent choice. You can simply store any leftovers in the pint container, ready to indulge in later!
Why You’ll Love This Recipe
- It features rich coconut flavor that transports you to a tropical paradise.
- The texture is velvety smooth, making each bite a delight.
- It’s sugar-free and low in carbs, so you can indulge without guilt.
- Quick preparation with easy-to-follow steps ensures success every time.
What You’ll Need
Gather the following ingredients to create this delicious ice cream:
For the Ice Cream Mixture
- 1 can coconut milk (roughly 13.66 ounces)
- 0.3 ounce box sugar-free lime gelatin
- 1 scoop vanilla protein powder
- 1 teaspoon vanilla extract
Note: Make sure to choose a high-quality coconut milk for the best flavor.
Substitutions & Swaps
- Use almond milk for a lighter version.
- Swap vanilla protein powder for any flavor you prefer.
- Replace lime gelatin with another flavor of your choice.
How to Make It
Follow these straightforward steps to whip up your Keto Key Coconut Ice Cream.
Heat
Add 1/2 cup of coconut milk to a microwave-safe bowl. Cook for 30 seconds or until the milk is hot but not boiling.
Blend
Add the box of gelatin to the blender container. Blend on low for a few seconds until the gelatin dissolves in the hot milk. Then add the rest of the coconut milk, vanilla extract, and protein powder. Blend for a few seconds to combine.
Freeze
Pour the ice cream mixture into the pint container that came with the Ninja Creami machine. Put the storage container lid on top and place it in the freezer. Make sure to place it on a level surface. Freeze overnight.
Process
When ready to eat, take off the lid and place the pint container in the outer assembly bowl. Attach the lid and load it into the Ninja Creami machine. Hit the LITE button and run through the cycle. When it’s done, check to see if it’s smooth and creamy. If not, run it through the LITE cycle again.
Adjust
When done, if it’s still powdery, add a tablespoon of almond milk (or other liquid). Place it back in the machine and run through the LITE cycle again. It only took me two cycles.
Serve
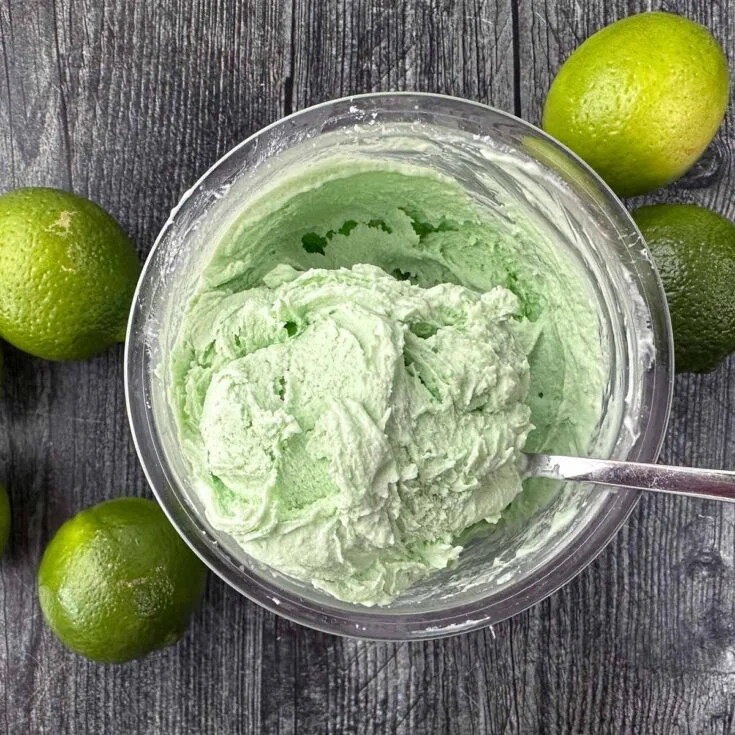
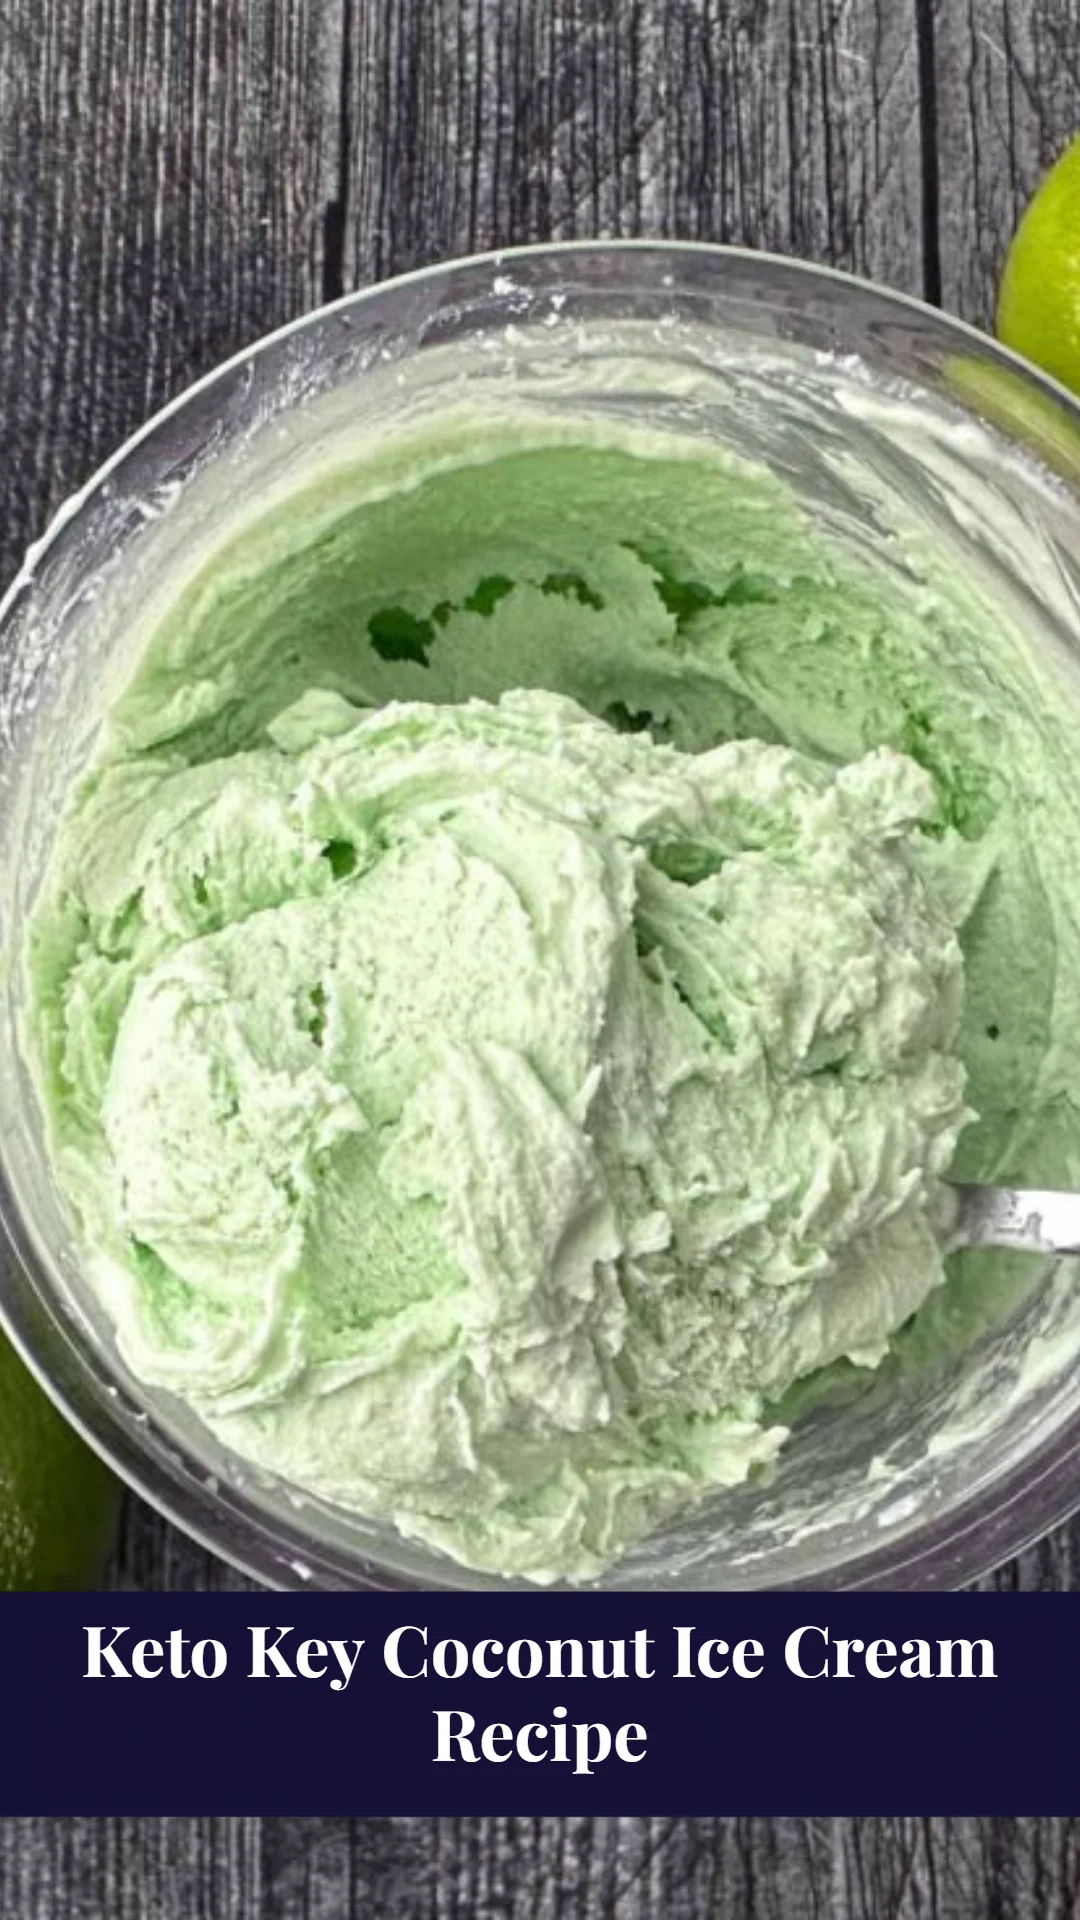
Spoon your homemade coconut ice cream into bowls and enjoy! This recipe yields 2-3 servings per pint container. If you have leftovers, store them in the pint container and freeze. You will have to run it through the machine when you’re ready to eat it again.
How to Store It
Fridge: Enjoy within 2 days in an airtight container.
Freezer: Yes, to maintain texture and freshness.
Reheat: Not applicable, reprocess in the Ninja Creami machine.
Tips for Best Results
- Ensure the coconut milk is evenly mixed before adding other ingredients.
- Freeze the mixture completely overnight for the best texture.
- Use a high-speed blender for a smoother consistency.
- Adjust sweetness by using flavored protein powders if desired.
Serving Suggestions
- Pair with fresh berries for a delightful combination.
- Enjoy alongside a slice of keto-friendly cake.
- Serve in a coconut shell for a fun tropical presentation.
Leave a Comment