
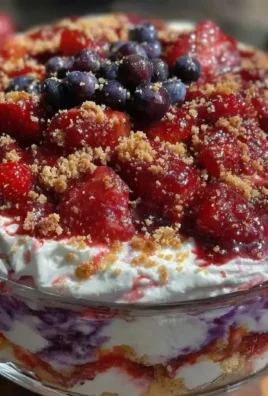
The rich aroma of a sweet, cherry-topped dessert wafts through the air as this No Bake Cherry Cheesecake Dessert sets in the fridge. With its creamy filling and crunchy Oreo crust, this delightful treat takes only about 15 minutes of prep time and simply shines when it comes to flavor and texture. The combination of cream cheese and whipped topping creates a light and fluffy filling that contrasts beautifully with the buttery cookie crust.
This recipe is perfect for anyone looking for a quick and impressive dessert to serve at gatherings or enjoy at home. It’s great for warm weather months since it requires no baking, and you can make it a day in advance to save time. Just keep it stored in the fridge until you’re ready to serve!
Why You’ll Love This Recipe
- The crunchy Oreo crust perfectly complements the smooth, creamy filling.
- It’s a no-bake dessert, making it easy to prepare on hot days.
- The fruity cherry topping adds a refreshing sweetness and vibrant color.
- This dessert is naturally gluten-free, as the crust is made with Oreos.
What You’ll Need
Here’s everything you need to make this delicious dessert.
For the Crust
- 20 Oreo cookies, crushed with filling
- 4 tablespoons (57 g) Challenge unsalted butter, melted
For the Filling
- 8 ounces (225 g) Challenge cream cheese, room temperature
- 1 cup (113 g) powdered sugar
- 8 ounces Cool Whip, 1 container
- 1 teaspoon vanilla extract
For Topping
- 1 (20 ounce) can cherry pie filling
Make sure to let the cream cheese sit at room temperature for easy mixing.
Substitutions & Swaps
- Use gluten-free cookies for a gluten-free version.
- Swap Cool Whip for fresh whipped cream.
- Any fruit pie filling can replace cherry filling.
- Use a different brand of cream cheese if necessary.
How to Make It
Follow these simple steps to prepare your cheesecake.
1. Combine crust ingredients
Stir cookies and melted butter in a small bowl with a fork until all cookies are moistened. Press into the bottom of an 8×8-inch pan. Chill until filling is ready.
2. Mix filling ingredients
Use a hand mixer to blend powdered sugar into cream cheese until smooth. Mix in vanilla extract and gently fold in Cool Whip.

3. Spread the filling
Spread the filling evenly over the chilled crust, leaving a small lip at the edges to hold the cherry topping.
4. Top with cherry filling
Spoon the cherry pie filling evenly over the cheesecake, ensuring it covers all areas for a pop of color.
5. Chill and set
Place the dessert in the refrigerator for at least one hour to set before serving.
How to Store It
Fridge: Store in an airtight container for up to 3 days.
Freezer: No, the texture won’t hold up.
Reheat: Not applicable; serve chilled.
Tips for Best Results
- Ensure the cream cheese is fully softened for smooth mixing.
- Avoid over mixing the whipped topping to keep it light and airy.
- Chill between steps for best texture and to maintain distinct layers.
- Use a measuring cup to help press the crust evenly.
Serving Suggestions
- Serve with a dollop of whipped cream on the side.
- Pair with fresh berries for added freshness.
- Perfect for picnics or summer gatherings.


Leave a Comment