
Nothing beats the feeling of indulging in a creamy, cold scoop of ice cream on a hot summer day. This no-churn ice cream recipe creates a luscious treat that takes only minutes to prepare, allowing you to skip the traditional ice cream maker entirely. The combination of heavy cream and sweetened condensed milk makes it remarkably rich and smooth, guaranteeing a satisfying dessert experience.
This recipe is perfect for families looking for a quick and delightful dessert for gatherings or a spontaneous treat. It’s simple enough for kids to help make, making it a fun activity for everyone. You can store the finished ice cream in the freezer for up to two weeks, bringing a touch of homemade joy whenever you crave it.
Why You’ll Love This Recipe
- Achieve a creamy, velvety texture without an ice cream maker.
- Enjoy a customizable dessert with various mix-in options.
- Make it from start to finish in just 15 minutes.
- A simple and fun activity for the whole family.
What You’ll Need
Gather these basic ingredients to create your no-churn ice cream:
For the Base
- 2 cups heavy cream
- 1 cup sweetened condensed milk
- 1 teaspoon vanilla extract
For Optional Mix-Ins
- Optional: chocolate chips, fruit, etc.
Use full-fat heavy cream for best results.
Substitutions & Swaps
- Heavy cream: Coconut cream for a dairy-free version.
- Sweetened condensed milk: Homemade version with milk and sugar.
- Vanilla extract: Substitute with almond or hazelnut extract.
- Mix-ins: Nuts, candies, or cookie crumbles.
How to Make It
Follow these easy steps to create your delicious ice cream.
Whip
- In a large bowl, whip the heavy cream until stiff peaks form. This will create the light and fluffy texture that complements the creamy base beautifully.
Mix
- In another bowl, mix the sweetened condensed milk and vanilla extract until well combined. This delicious mixture will serve as the foundation of your ice cream.
Combine
- Gently fold the whipped cream into the condensed milk mixture until no white streaks remain. Be careful not to deflate the whipped cream for best results.
Add
- If desired, fold in any optional mix-ins. This is the fun part where you can get creative with flavors and textures.
Transfer
- Transfer the mixture to a freezer-safe container and smooth the top. This will help with even freezing and serving later.
Freeze
- Freeze for at least 6 hours or until solid. To ensure the best texture, avoid opening the freezer during the first few hours.
Serve
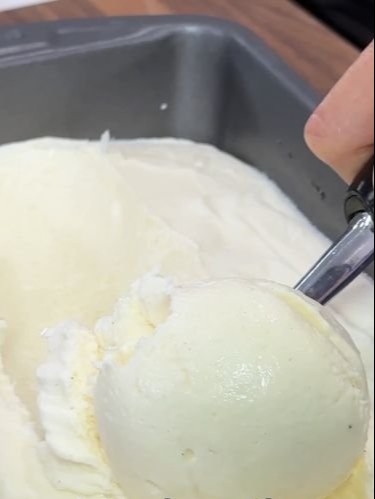
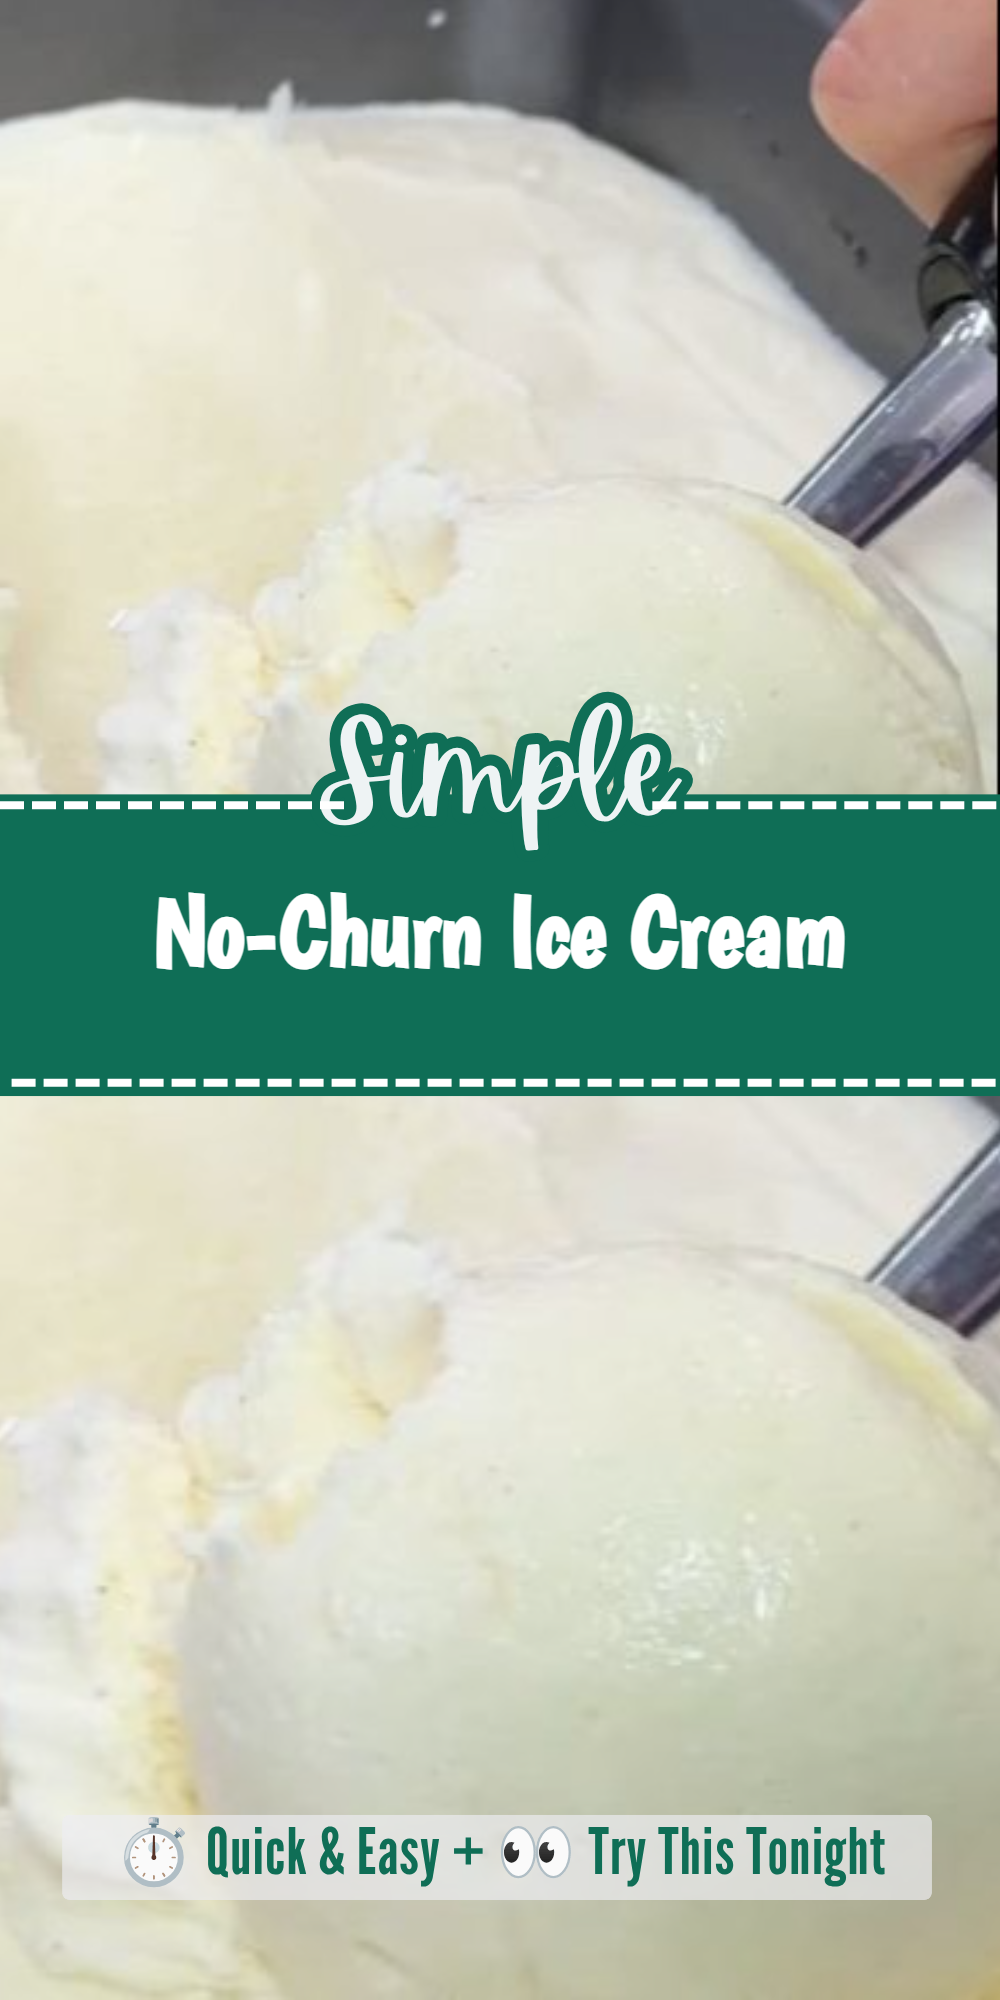
- Scoop and enjoy your homemade no-churn ice cream! Serve it in bowls or cones, and delight in each creamy bite.
How to Store It
Fridge: Not recommended; it’s best kept frozen.
Freezer: Yes, keeps well for up to two weeks.
Reheat: Not necessary; serve directly from freezer.
Tips for Best Results
- Ensure your heavy cream is very cold before whipping for better volume.
- Avoid over-mixing after adding the whipped cream to keep the texture light.
- For a flavor boost, consider adding a pinch of salt to the condensed milk mixture.
Serving Suggestions
- Serve alongside warm brownies for a delicious contrast.
- Top with fresh fruit for a refreshing twist.
- Enjoy in a cone at your next summer picnic.

Leave a Comment