
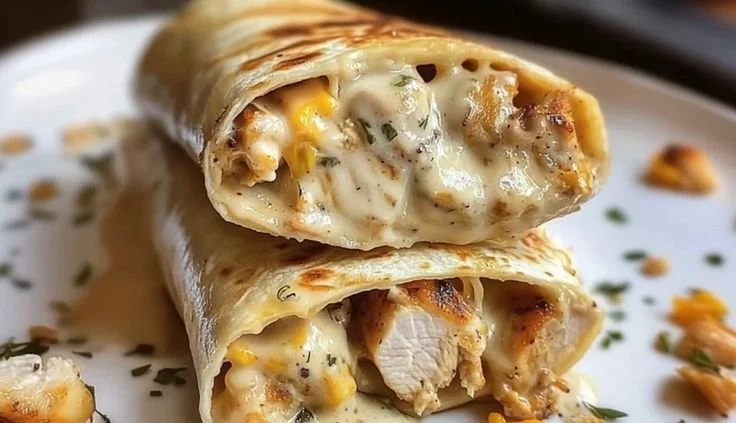
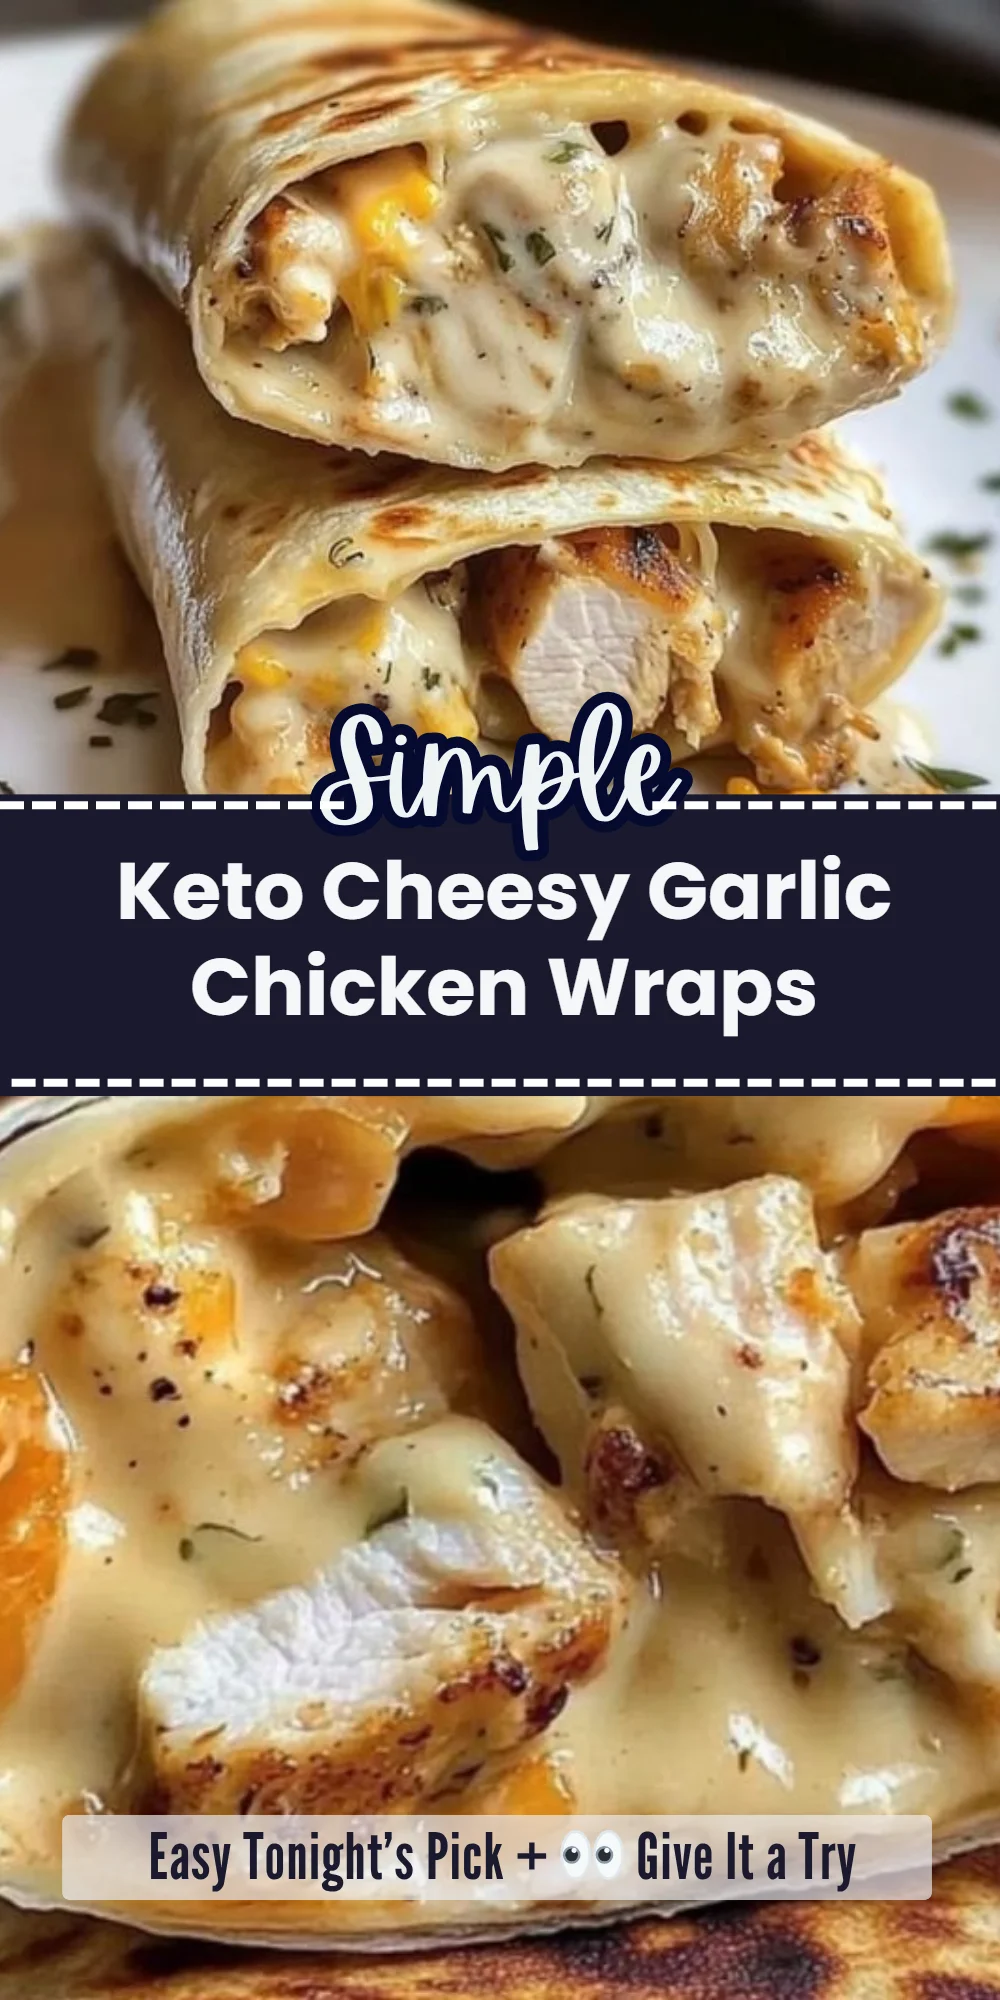
The aroma of baked garlic and melting cheese fills the kitchen as these wraps emerge golden and crispy. Keto Cheesy Garlic Chicken Wraps are a delightful, low-carb meal that takes just 30 minutes to prepare. The combination of almond flour and cheese creates a satisfying, flexible wrap that holds everything together beautifully, ensuring you enjoy every bite without the carbs.
This recipe is perfect for anyone following a keto diet, meal preppers, or those seeking a quick weeknight dinner. They can easily be made ahead of time and stored in the fridge for a couple of days, making them a convenient option for busy schedules.
Why You’ll Love This Recipe
- The wraps bake to a golden crisp, providing a satisfying texture.
- Juicy, seasoned chicken elevates the flavor profile, making it irresistible.
- Customizable with your favorite toppings, so everyone can enjoy it.
- Quick preparation time means you can have dinner ready in under 30 minutes.
What You’ll Need
Gather these ingredients to make Keto Cheesy Garlic Chicken Wraps:
For the Wraps
- 2 cups almond flour
- 1 cup cheese, grated (cheddar or mozzarella)
- 2 large eggs
- 3 cloves garlic, minced
- 1/2 tsp salt
- 1/4 tsp pepper
For the Chicken
- 1 lb chicken breast, sliced
- 2 tbsp olive oil
- 1/2 tsp salt
- 1/4 tsp pepper
For Toppings
- Your favorite toppings (lettuce, avocado, etc.)
Almond flour works best for low-carb wraps.
Substitutions & Swaps
- Use coconut flour for a different flavor.
- Swap chicken for turkey or tofu.
- Try different cheeses like pepper jack for spice.
- Add herbs to the dough for extra flavor.
How to Make It
Let’s dive into the steps to create these delicious wraps!
1. Preheat the oven
Preheat the oven to 400°F (200°C) to ensure the wraps bake evenly and crisp up nicely.
2. Mix the dough
In a bowl, mix almond flour, grated cheese, eggs, minced garlic, salt, and pepper to form a dough.
3. Shape the wraps
Spread the mixture into thin circles on a baking sheet lined with parchment paper for easy removal post-baking.
4. Bake the wraps
Bake for 10-12 minutes or until golden and crispy, keeping an eye on them to avoid burning.
5. Cook the chicken
While the wraps are baking, cook the chicken breast in olive oil and season it with garlic, salt, and pepper for enhanced flavor.
6. Slice the chicken
Once the chicken is cooked, slice it and place it onto the crispy wraps, ensuring even distribution for full flavor.
7. Add toppings
Add any favorite toppings, such as lettuce or avocado, to enhance texture and taste, and roll the wraps tightly.
8. Serve warm
Serve the wraps warm for the best flavor and texture, making it a comforting meal option.
How to Store It
Fridge: Store in an airtight container for up to 3 days.
Freezer: No, the wraps won’t retain crispness.
Reheat: Microwave for 30-60 seconds, or until warm.
Tips for Best Results
- Blend the dough until smooth for better texture.
- Don’t overload the wraps to ensure they roll easily.
- Allow the wraps to cool slightly before slicing the chicken for clean cuts.
- Experiment with spices or herbs in the dough for added flavor.
Serving Suggestions
- Pair with a fresh green salad for a balanced meal.
- Serve with a side of guacamole for extra creaminess.
- Great for picnics or meal prep, easy to grab and go.

Leave a Comment